[HTML STARTER] CONTENTS III
Hi all! In the last post, we went over how to input the main and sub-title by using
h1andh2tags. HTML is not hard as you might think if you memorize some tags. I will use some of these tags but you can check more tags in w3schools.comToday, let’s go over how to input an image
1. image tag = <img>
So, image. Before you use any image that you downloaded from the internet. Please do check whehther you can use for commercial use for that specific image.
You can download free image that you can use for commercial purpose as well via pexels.com

You can input an image by using imgtag in your html. Note that imgtag does not have an ending tag unlike other tags require. Let’s put some image in hello.htmlfile.
Let’s open the file we worked on last time.
<html>
    <body>
        <div class="main-title">
            <h1>Guide for HTML Beginners!</h1>
        </div>

        <div class="sub-title">
            <h2>A complete guide for HTML beginners</h2>
        </div>

        <div class="main-picture">

        </div>

        <div class="main-contents">

        </div>
    </body>
</html>
2. Inputting an Image
I will put imgtag under main-picture section. Note that imgtag follows srcwhich you need to input address or source of your image. I will use the image in my computer, but you will need to save your image in cloud file when you upload the file on server.
<html>
    <body>
        <div class="main-title">
            <h1>Guide for HTML Beginners!</h1>
        </div>

        <div class="sub-title">
            <h2>A complete guide for HTML beginners</h2>
        </div>

        <div class="main-picture">
            <img src="file:///Users/sunbee/Downloads/computer-hands-laptop-2115217.jpg"
        </div>

        <div class="main-contents">

        </div>
    </body>
</html>
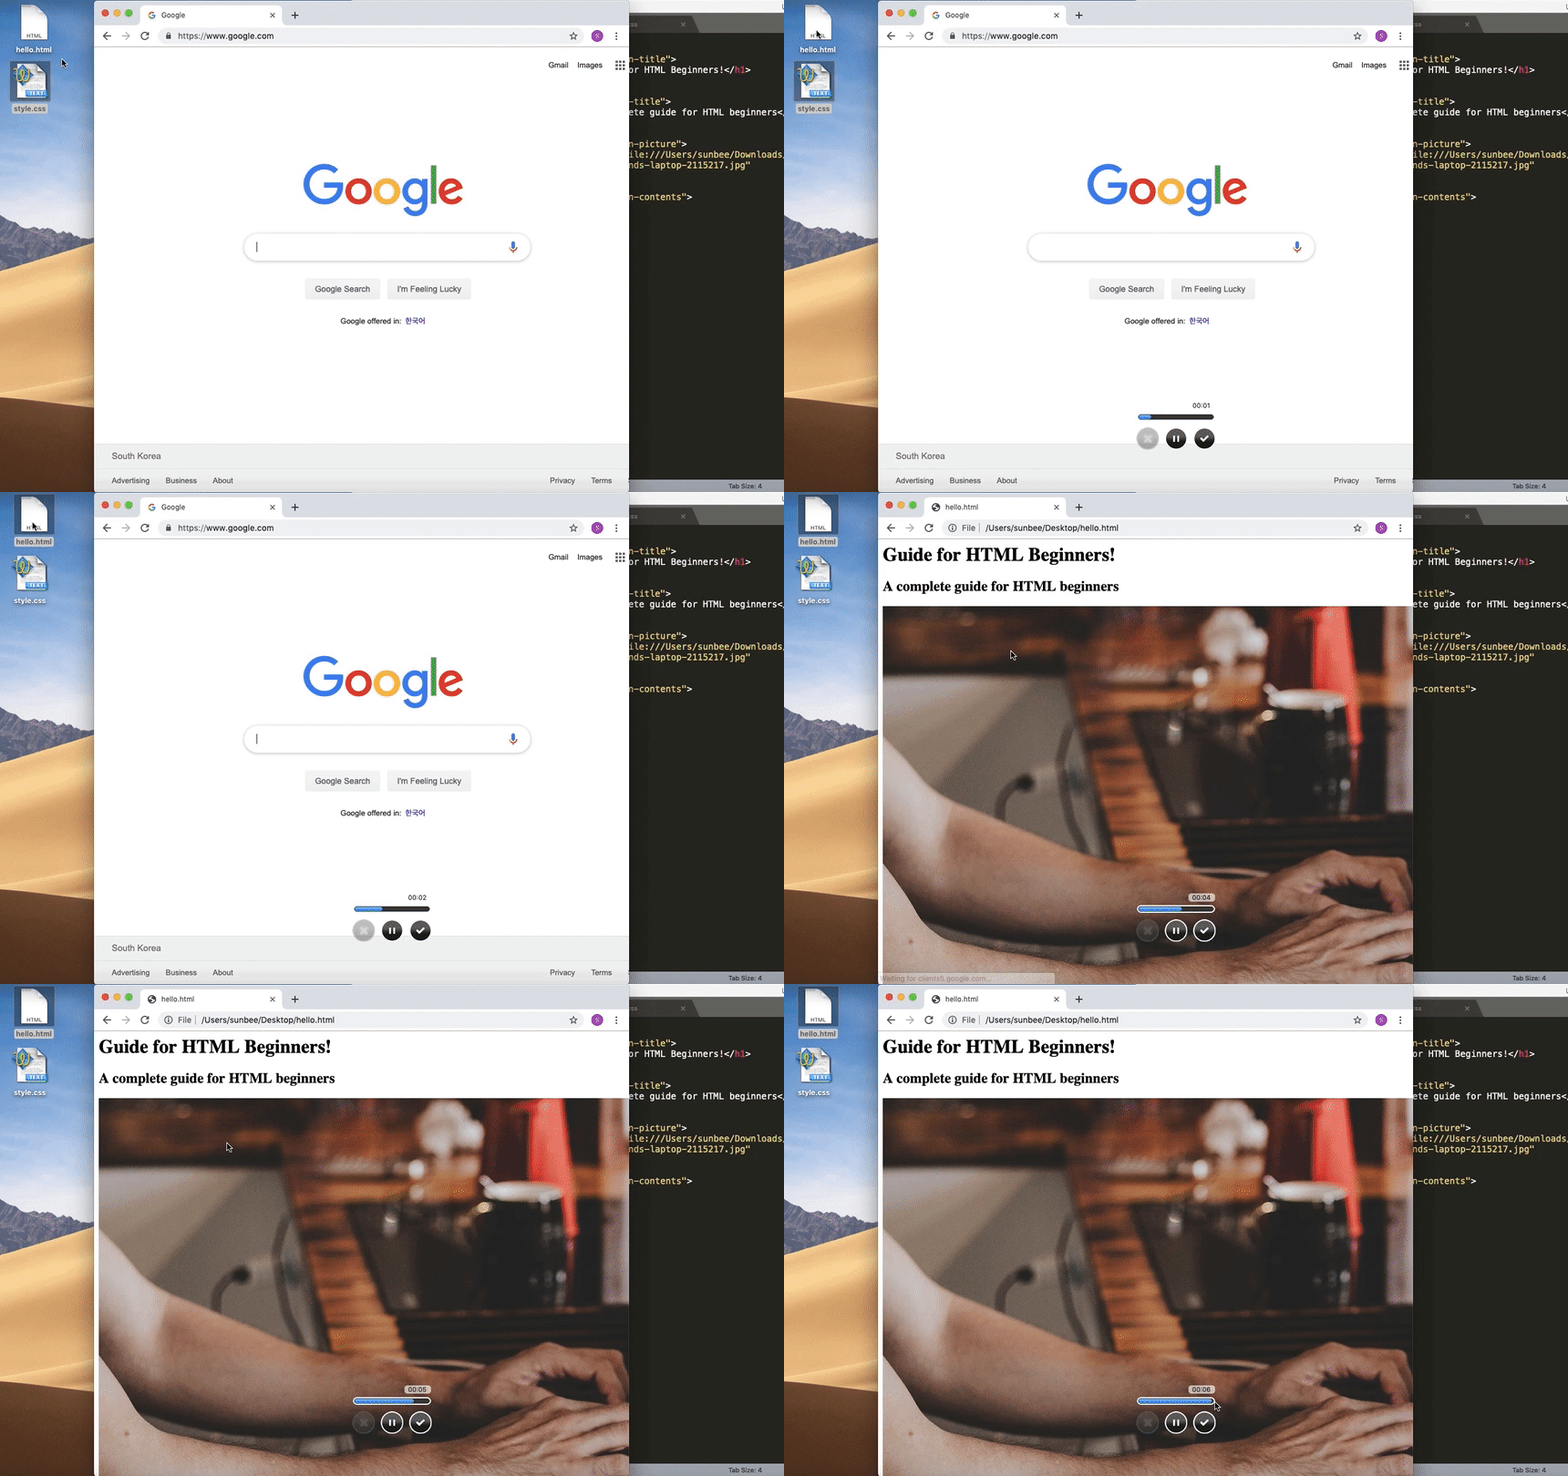
Let’s how it look on a browser.


Responses
Leave a response to @alexis